How to prepare your GameMaker games for translation
If you’re looking to increase the audience for your games, one way to be more inclusive and get more eyes on your content is to translate your game into other languages. Here we’ll show you how to prepare your game to be translated (although, you’ll still need to find the translators yourself).
At the bottom of the guide is a link to a template project to show you these principles in action.
Store your strings in JSON files
The first step to translating your game is to stop hard-coding your strings in GameMaker and store them in external text files instead. Here’s an example:
{

	"UI_NEW_GAME" : "New Game",
	"CHARACTER_DIALOGUE" : "Hello, my name is Daniel",
	"ITEM_NAME" : "Potion"

}
Notice the structure of the file. It begins and ends with braces {}. Then for each string we have a label and the English string. The label will be the same in every language, and will replace your hard-coded strings in your GameMaker code. The string to the right of it will be different in each language.
Save this JSON file as strings_en.json and place it in the included files of your GameMaker project.
When you get your game translated, you’ll have the translator edit this JSON file and save a new copy for the new language. For example, strings_de.json – the German strings for your game – might look like this:
{

	"UI_NEW_GAME" : "Neues Spiel",
	"CHARACTER_DIALOGUE" : "Hallo, mein Name ist Daniel",
	"ITEM_NAME" : "Trank"

}
Notice how the labels on the left hand side of the JSON are the same as they were in the English file. This is because you will be using this label in your GameMaker code to find the right string in the language you want to display.
When you have all of your language files, place them in the included files of your GameMaker project.
Load the JSON files into your game at runtime
In the demo project at the bottom of the page, we have included some scripts to help you do this, we’ll explain what they do here. First, language_init:
function language_init() {

	// Call this once at the start of the game to set up your language map and avoid errors
	global.language_map = -1;

}
First we set up a global variable in which to store our language map. This will be a DS map storing all of the strings for the game in the user’s currently selected language. We set it to -1 for now.
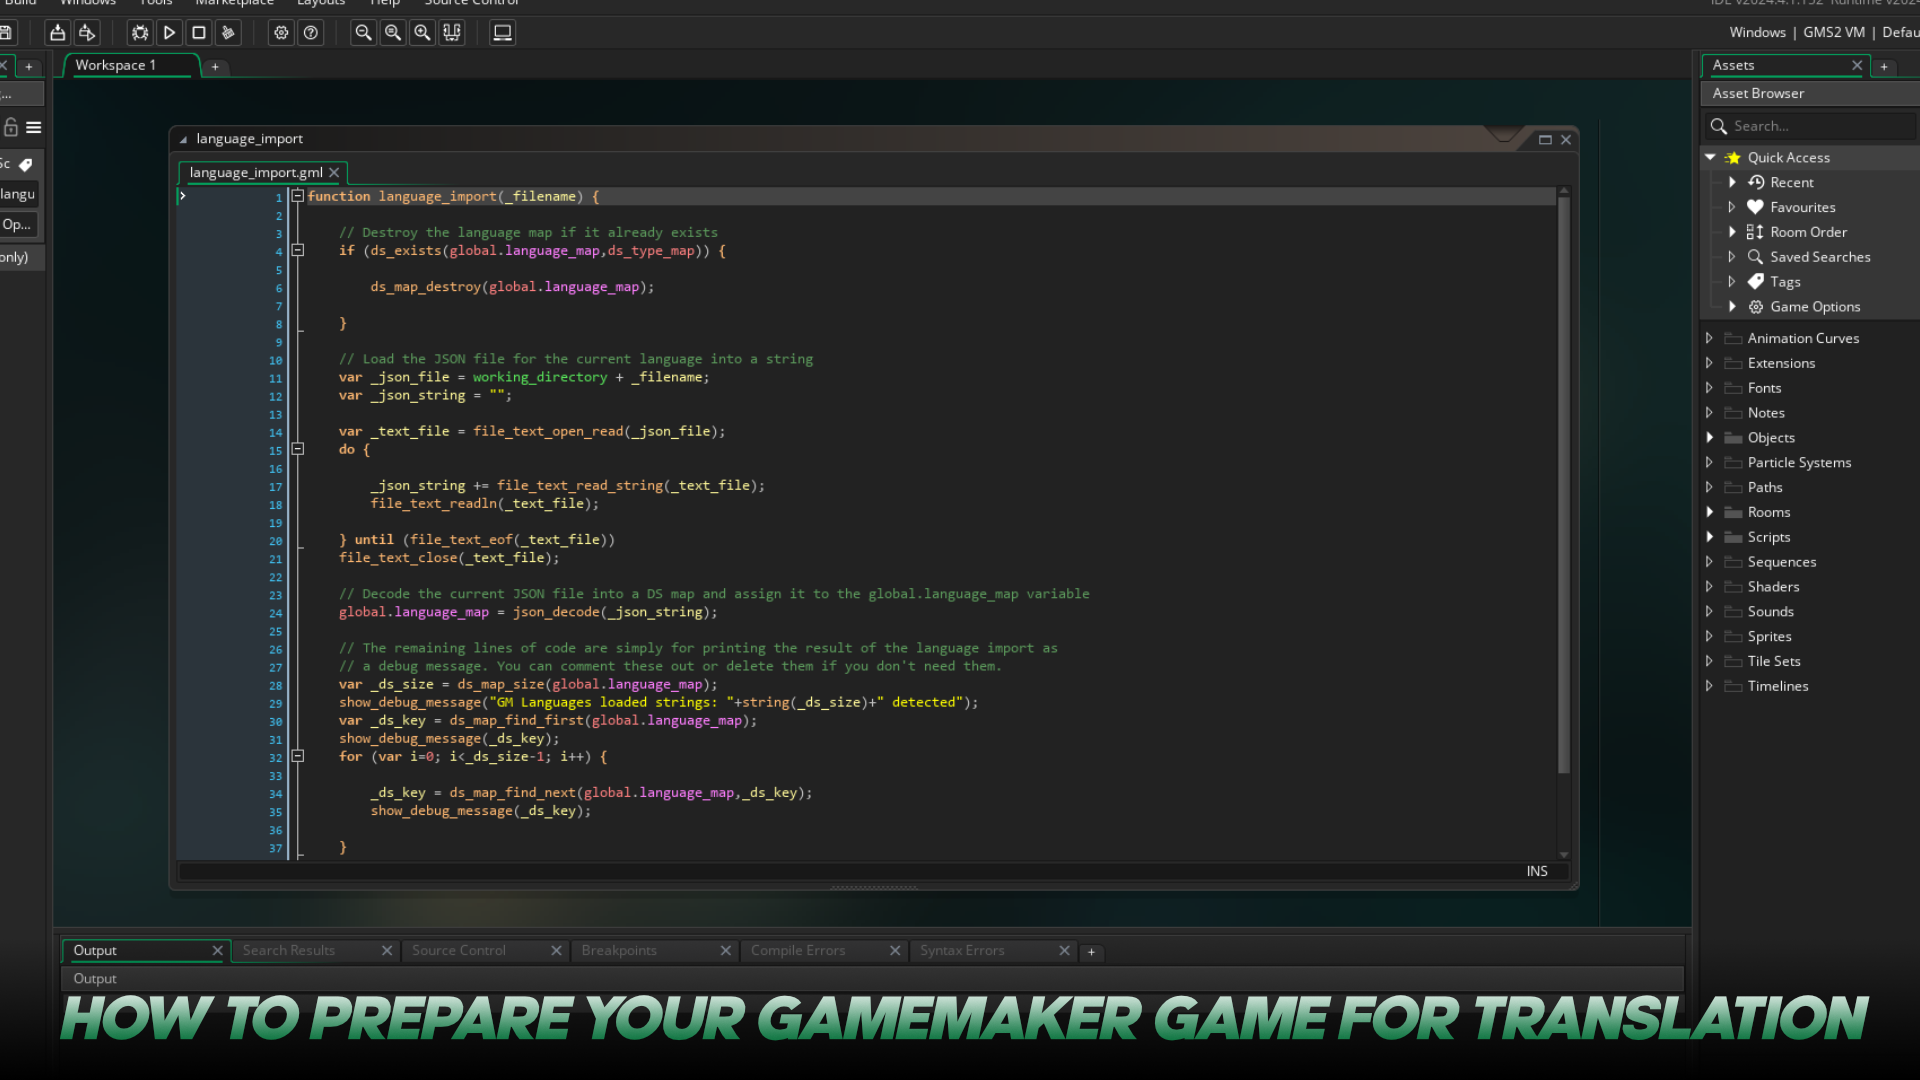
Next we have language_import. This script opens the JSON file for the chosen language, reads every line, and uses the built-in GameMaker function json_decode to turn it into a DS Map. We then assign that DS Map to the variable global.language_map to use it later.
function language_import(_filename) {

	// Destroy the language map if it already exists
	if (ds_exists(global.language_map,ds_type_map)) {

		ds_map_destroy(global.language_map);

	}

	// Load the JSON file for the current language into a string
	var _json_file = working_directory + _filename;
	var _json_string = "";

	var _text_file = file_text_open_read(_json_file);
	do {

		_json_string += file_text_read_string(_text_file);
		file_text_readln(_text_file);

	} until (file_text_eof(_text_file))
	file_text_close(_text_file);

	// Decode the current JSON file into a DS map and assign it to the global.language_map variable
	global.language_map = json_decode(_json_string);

	// The remaining lines of code are simply for printing the result of the language import as
	// a debug message. You can comment these out or delete them if you don't need them.
	var _ds_size = ds_map_size(global.language_map);
	show_debug_message("GM Languages loaded strings: "+string(_ds_size)+" detected");
	var _ds_key = ds_map_find_first(global.language_map);
	show_debug_message(_ds_key);
	for (var i=0; i<_ds_size-1; i++) {

		_ds_key = ds_map_find_next(global.language_map,_ds_key);
		show_debug_message(_ds_key);

	}

}
Notice at the beginning of the script we check if the DS Map already exists first, and delete it if it does. This means that you can use language_import over and over again when the user changes the language setting in your game without getting memory leaks – because the old language map is always deleted before loading the new one.
Now you’ll need to call these scripts in your game to load the language strings. For example, in the create event of an object in the very first room of your game, you might call this code:
language_init();
language_import("strings_de.json");
This code would import the German strings for your game. Any time you want to change the language, for example when the user changes the language option in the settings, you would call language_import again but replace “strings_de.json” with the name of the file for a different language.
Drawing the strings in your game
Now that you’ve loaded in the language map, you need to draw the correct strings in your game. Instead of drawing a hard-coded English string like this:
draw_text(x,y,"Hello, my name is Daniel");You’ll need to replace that string with a function to find the correct string in the current language. For that, we have a script in our template project called lang();
function lang(_string) {

	// _string is LABEL for the string in the JSON file, not the final text you want to appear
	// on screen. For example, "UI_NEW_GAME", not "New Game".

	// Check if the language map was loaded correctly
	if (ds_exists(global.language_map,ds_type_map)) {

		var _get = ds_map_find_value(global.language_map,_string);

		if (is_undefined(_get)) {

			// If the label was not found in the language map, return just the string
			// that was used in the argument for this script
			return _string;

		} else {

			// Return the localised / translated string
			return _get;

		}

	} else {

		// If the language map is not loaded correctly, return just the string
		// that was used in the argument for this script
		return _string;

	}

}
Every time you draw text in your game, you will now use lang(“LABEL_NAME”) instead of just a hard-coded string. For example, the line of code we used above for drawing text would now read like this:
draw_text(x,y, lang("CHARACTER_DIALOGUE") );Notice how the label we’re using – “CHARACTER_DIALOGUE” – matches the label we used in our JSON files earlier. That’s why it’s important that the labels are the same for every language. It’s how GameMaker finds the right string to show in your game!
So now your game will draw “Hello, my name is Daniel” if the English language file was loaded, and “Hallo, mein Name ist Daniel” if the German language file was loaded. Congratulations! you just learned how to prepare your GameMaker game for translation.
To see this code in action and get the scripts for yourself, download our free template project here: